Overview
Plesk features Git integration, which allows to you automatically deploy your code repositories direct to your website. This can be used for a specific directory, for example a WordPress theme or plugin. This article will step you through the process to configure Git integration using a BitBucket based repository.
We also have guides available for GitLab and GitHub.
Instructions
- Login to Plesk or the Conetix Control Panel.
- Select the website you wish to use Git based deployment with.
- Select the Git option:

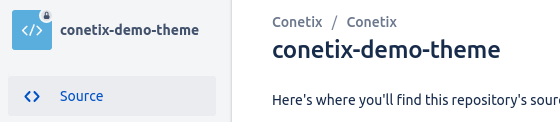
- In a new window or tab, Login to BitBucket, and select the repository you wish to deploy. In this example, we’re going to configure conetix/conetix-demo-theme:
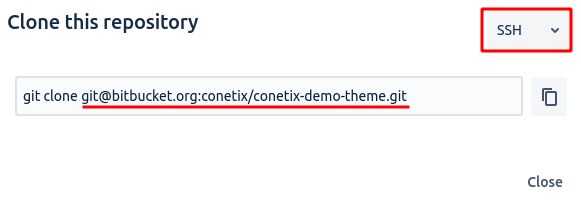
- Select Clone, enable SSH and then copy the git@ component of the URL provided:
- Return to the Plesk config and paste the URL into the dialog:

Do not hit OK yet. - On the right hand side within Plesk, click on the httpdocs folder:

- This will open up a dialog. If this is a WordPress theme or similar, select the path (eg /wp-content/themes) and create a new folder or select a previous directory if replacing an existing theme”
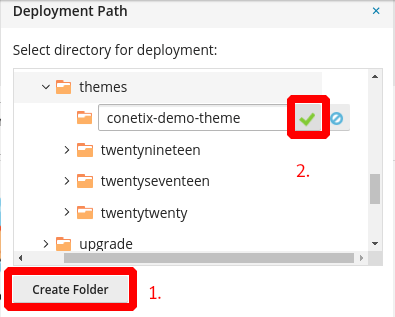
All files will be replaced if you select an existing folder. - Double check that the desired folder has now been set:

- Take a copy the SSH public key:

Do not click on OK yet. - Then, go back to the browser tab with BitBucket open.
- On the right hand side, select Repository Settings:

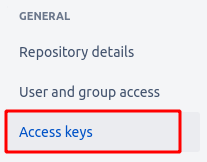
- Then, select Access keys under General:
- Click Add key and add a name for the key along with the public SSH key you copied from Plesk:

- Click Add SSH key to save.
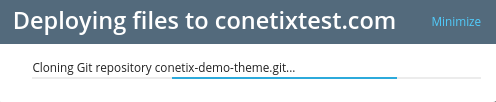
- Return to the Plesk browser window, triple check you have the correct directory selected and click on OK. This will trigger the deployment and you should see something similar to the following:
- After the initial deployment, you should then see a summary screen with the Git configuration. Select Repository Settings:

- Take a copy of the webhook URL:

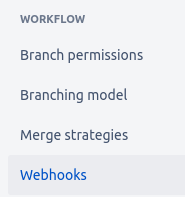
- Return to the browser window with BitBucket then select Workflow -> Webhooks:
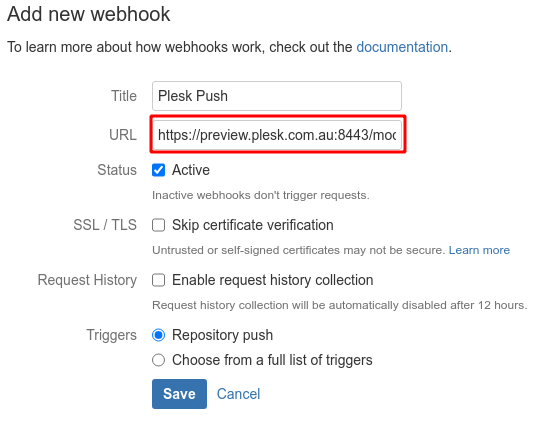
- Click Add webhook and add the URL in as well as an optional title. Leave all other settings as default:
- Click Save and confirm it was added.
- Return to the Plesk browser window and simply cancel the dialog to edit the Repository Settings (we just needed open to copy the webhook).
- To confirm the files are deployed, you can use the Plesk File Manager to browse to the file location and confirm it pulled down the code changes:
