Overview
W3 Total Cache is one of the most useful plugins for any busy website or for those who want users to have the fastest experience possible with your site. Used by the likes of Mashable and Smashing Magazine, W3 Total Cache provides one of the most reliable ways to decrease page load times and increase the capacity of your website.
The performance difference has been benchmarked in our WordPress Performance article, which shows you exactly how much difference it will make.
Installation
- Login to the admin area your WordPress site. If you installed WordPress via Plesk, you’ll find a handy link in your Conetix Control Panel.
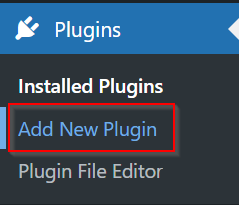
- Click on Plugins on the left hand side, then select Add New Plugin:
- In the search pane, search for “W3 Total Cache”:

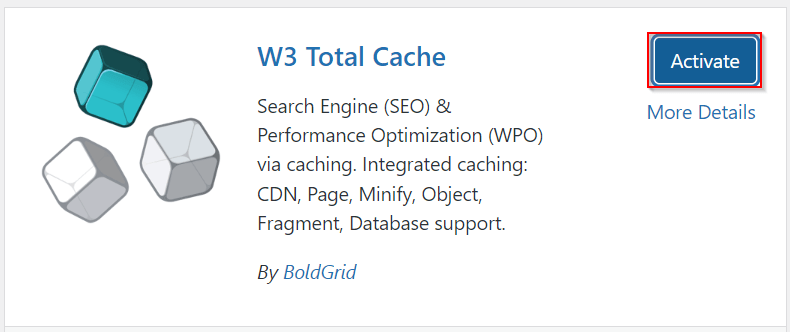
- Click on Install Now for the W3 Total Cache plugin:

- Lastly, Activate the plugin:
Configuration
Enabling the Page Cache and Browser Cache will dramatically speed up your website, allowing you to serve more pages at a faster rate. While W3 Total Cache can do far more than this, these two modules will make the most difference. Here’s how to do it:
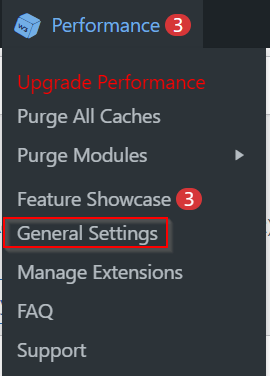
- In WordPress Admin Top Bar, mouse over Performance and select General Settings:
- You will then be prompted with a Setup Guide -> Scroll down and click on SKIP.

- Again in WordPress Admin Top Bar, mouse over Performance and select General Settings
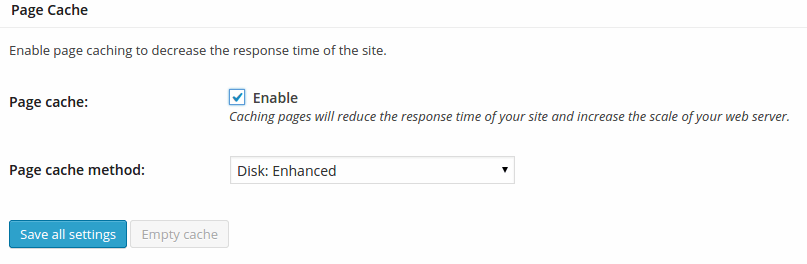
- Scroll down to Page Cache, ensure it’s Enabled (do not change any other settings) and then click Save All Settings:
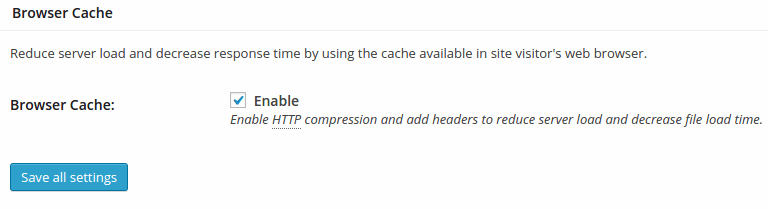
- Then, scroll down to Browser Cache, ensure it’s Enabled and then click Save All Settings:
- From the left hand menu, Click Performance and then Page Cache.
Ensure that Cache SSL (https) requests is selected.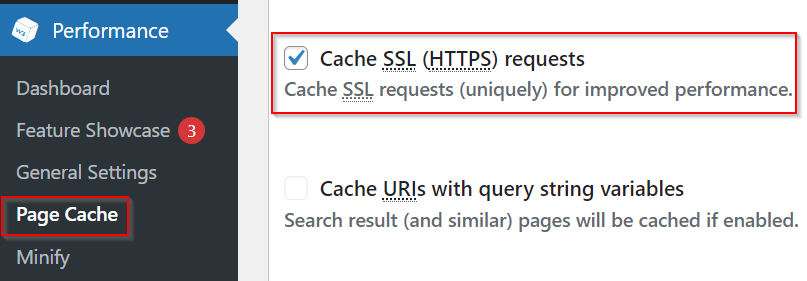
- Test the site to ensure all functionality is still available and working as expected.
- You can also ensure Click ID referrals from Google and Facebook are cached using our guide.
Update: To clarify some of the questions we have received, we recommend leaving all other options disabled or default. Turning on the page cache and browser are conservative yet will deliver the most performance to your site. We have seen these options alone allow a WordPress site serve out hundreds of thousands of pages an hour without issue with this simple configuration.
We will install and configure the W3 Total Cache plugin for customers on our Managed WordPress platform and happy to provide troubleshooting tips for all of our other customers. If you run into any problems, please don’t hesitate to contact our support team!
Plugin Website: https://wordpress.org/plugins/w3-total-cache/