Overview
This article describes how to install WordPress using Plesk's in-built application feature.
Instructions
- Log into your Control Panel / Plesk hosting
- Next click on the Applications > Install(Custom)

- Next WordPress install files will be downloaded:

- Accept the accept terms of the license agreement then Next:

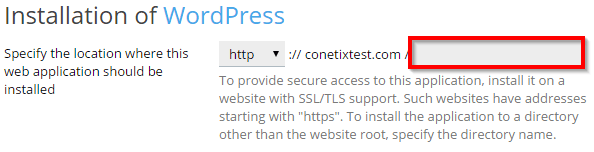
- Select where you want WordPress to be accessible. If this is for the main site and no site currently exists, ensure the location is blank.
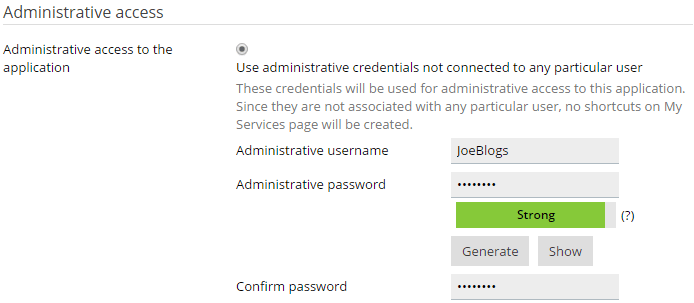
- Enter a Username / Password for the admininstration area of WordPress:
- Enter the email address to associate with your website. You can also select the default site name at this stage.

- Optionally, change the Database name and Database user name to something which will be easier to associate for your site.
- Click Install to complete the Setup of WordPress.
You should now be able to login to WordPress either via the Plesk WordPress Toolkit or directly into the WordPress Admin area.